From the Ribbon select the Sales
tab, then click  . The Sales
Order form is displayed:
. The Sales
Order form is displayed:
Use the Sales Order form to create new sales orders. Track all sales orders from the Sales Order Center. For further details on the different hyperlinks available in the Sales Order form, see Sales Order Highlights.
Note:
Mandatory fields are represented by an *.
From the Ribbon select the Sales
tab, then click . The Sales
Order form is displayed:
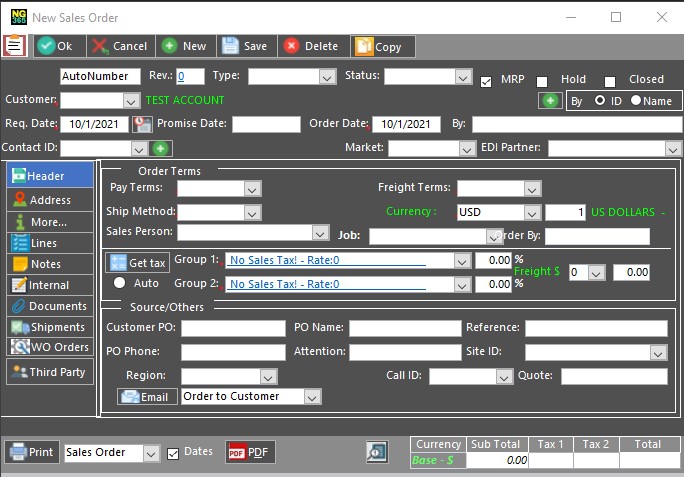
Sales Order Form
To revise an existing Sales Order: From the Top if
you know the Sales Order number, enter the number directly into the  drop-down or select from the list . The Sales Order
details are displayed in the form. Revise as required.
drop-down or select from the list . The Sales Order
details are displayed in the form. Revise as required.
Or
If you are adding a new Sales Order, the Sales Order form opens in “Add” mode, ready for entry of a new Sales Order.
If your system does not support Auto-Numbering, in the SO Number field enter a unique Sales Order number.
From the Customer ID field drop-down list, select the Customer for whom the Sales Order is created. Various fields in the General tab are automatically populated, e.g., the Pay (Payment) Terms, Ship Via, FOB, Currency, and Charged Department values. These values may be revised.
Notes:
If the Customer is a new Customer and is not yet
defined, click ![]() to load the Customer form.
See Creating
a New Customer for further details.
to load the Customer form.
See Creating
a New Customer for further details.
If the Customer has not paid previous bills, the
system prompts you to stop the order:  . Proceed according to your store policy.
Double-click the Rev field to add a note to track all revision made on a Sales Order. On closing the Revision Tracking form the highest numeric or alphabetic record is assigned to the Sales Order Rev. field. The alphanumeric value is unique to the Sales Order Revision and is assigned in the Revision Tracking form. See Sales Order Revision Tracking for further details.
New Sales Orders are automatically defaulted to the current date. To change the Order Date field, enter a different date on which the Sales Order is to be processed. To use NGERP's calendar, double-click the date icon.
In the Required Date field, enter the date on which the Sales Order is required. To use NGERP's calendar, double-click on the date field.
To apply all the open lines required date to the
same date as defined in the header, click  .
If there are any open lines, the system prompts you to confirm
that you are updating the required dates to the specified date; select
Yes to continue.
.
If there are any open lines, the system prompts you to confirm
that you are updating the required dates to the specified date; select
Yes to continue.
In the Promise Date field enter the date on which you have promised the order to be ready.
Note:
Each Line item on the Sales Order can have its own Required Date independent of the date on the Sales Order header.
To place the order on hold until a further date, select the Hold checkbox.
Select the Closed checkbox to indicate that all actions are complete, or that no further action is required regarding this Sales Order.
Note:
Once a Sales Order is complete, and been signed off and shipped, it is automatically flagged as "Closed".
From the Status drop-down list, select the status of the Sales Order, e.g., New Order.
From the Market drop-down list, select the market for whom the Sales Order is designated.
Click Save to save the new Sales Order or your changes. If the system is using Auto Numbering, the new Sales Order is automatically assigned a Sales Order ID number. Select each tab to add further details to the Sales Order.
To automatically create a Work Order for each line
and its BOM Components, as well as a planned Purchase Order, click 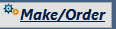 . The following dialog is displayed:
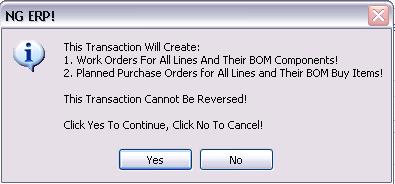
Click Yes to continue. The system prompts as follows:
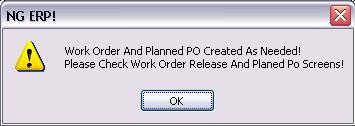
Select the Work Orders section to view the work order number and details. Then proceed to view Purchase Order screens according to the work order number.