From the Item Master screen, click
 to display the template section of the form, as follows:
Create a template for a group of items that share various planning attributes, such as the Stockroom details, location, planner/Buyer, etc. After you apply a template to an item, the next item you create may use the template properties by default, inheriting the same attributes. In addition, if you use a template and then require modifying an attribute of the item, such as the Stockroom, all items associated with the template are updated with the new details. You have the option to hide the template, and then it will not be implemented when creating a new item.
From the Item Master screen, click
to display the template section of the form, as follows: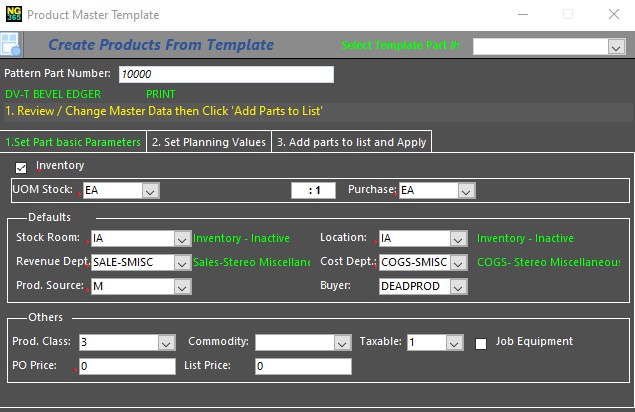
Item Master Template
The template's fields are part of the Planning tab. For further details on each field, see The Planning Tab.
Enter the fields that are generic to all items within this family of items.
Click
 to set defined field properties as the defaults on the Item
Master form.
to set defined field properties as the defaults on the Item
Master form.Click
 to copy current part settings to the template.
Modify the item's details as required. You may override a field previously defined in the template.
Redefine the template as necessary for a new group of items, then click the icon
again to apply it as a default.If you do not wish to create the item using the template, click
to hide the template, and define the fields as necessary.Notes:
Even if you have applied the template, you may modify the item's fields as required.